![]()
How to make the Barbell
Click here for the previous step
-
File the ends -
The barbell itself is pretty much ready to go, if you had Home Depot or Lowes cut the 10 ft pipe into 2 pieces, 7 ft (2.13 m) and 3 ft long. BTW, why not just buy a 7 ft length? because it is only some if much shorter lengths and 10 ft!
If the cut end is rough (mine wasn't use a metal file to polish the rough bits off.
-
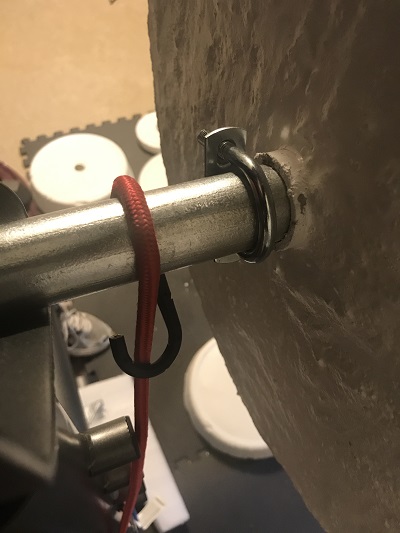
Attach the U-Bolts -
The 2 u-bolts ( available online here) are what keeps the plats from sliding inwards towards your hands. use a tape measure, yard stick or ruler to mark 14 inches (36 cm) in from each end. That's where you should attach the u-bolts and tighten them down. Of course, you want to make certain that you have at least 4 or 5 inches of clearance between the u-bolts and the uprights of the rack on your bench so you can safely return the bar to the rack after doing some exercises.
-
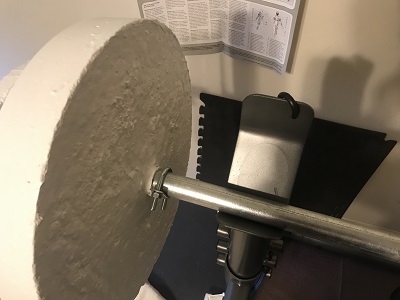
Putting plates on the bar -
Keep in mind that the bar probably only weighs about 20 lbs, so when you put plates on one and and not the other (or when removing plates) you must secure the bar to the bench to keep it from flipping off from uneven weight!
I use 2 bungee cords, one on each end, as show in the photo, to hold the bar down when adding or removing heavy plates (above 25 lbs).
-
Bar clips -
At the gym, you had bar clips, clamps, collars, etc., to keep plates from sliding off the bar or moving while you are lifting.
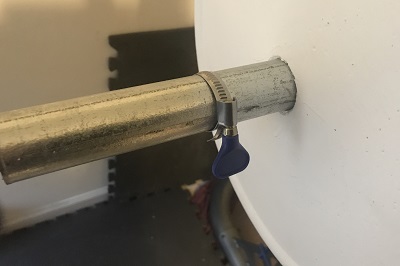
If you cannot get hold on 1.5 inch diameter clips, you can easily make your own from 2 hose clamps that have thumb screws. I got these online here..
My plates don't slide, so I just position them a few inches away, just in case. But you could easy cut a 2 inch piece of pvc pipe to use as a spacer between the plate and the clamp to make it snug.
Next: Coming Next week: Making dumbbells